

Find and use the best natural light for your at-home portraits
A photo is all about capturing a subject in a particular light. Light is a critical consideration if you want to elevate your images from average to great. Professional photographers spend lots of time observing light, and then trying to reproduce its various qualities with flashes, strobes or the sun (what we can call ‘natural light’). As we are all mostly confined to our homes (perhaps with a backyard, balcony, or patio if we are lucky), I wanted to provide some tips and tricks for capturing great photos using whatever ‘natural light’ you have available! As the days are getting longer, hopefully you will have lots of light to work with. To get started, first try observing where the sun falls in your home throughout the day and then position your subject in different places in relation to that light to see what happens. I would love to see some of your results!

1. Bright is good
When photographing inside, the brighter the day is outside, the better. Having more light allows us more flexibility when it comes to positioning our subject.

2. Windows are great, lightbulbs are not
When using natural light, it’s best to avoid having any lightbulbs on at the same time. Lightbulbs have a different ‘color’ of light. When the colors from natural light and lightbulbs mix, it does not create the best results. So switch off the other lights!
3. The color of the walls affects the color of the image.
If you live in a home with beige or brown walls, set the camera to auto white balance in order to reduce the yellow tone those walls create. If you have white walls, great! Use those :) Black or grey walls are fine as well, but will absorb light rather than reflect it. This is better for moody photographs.

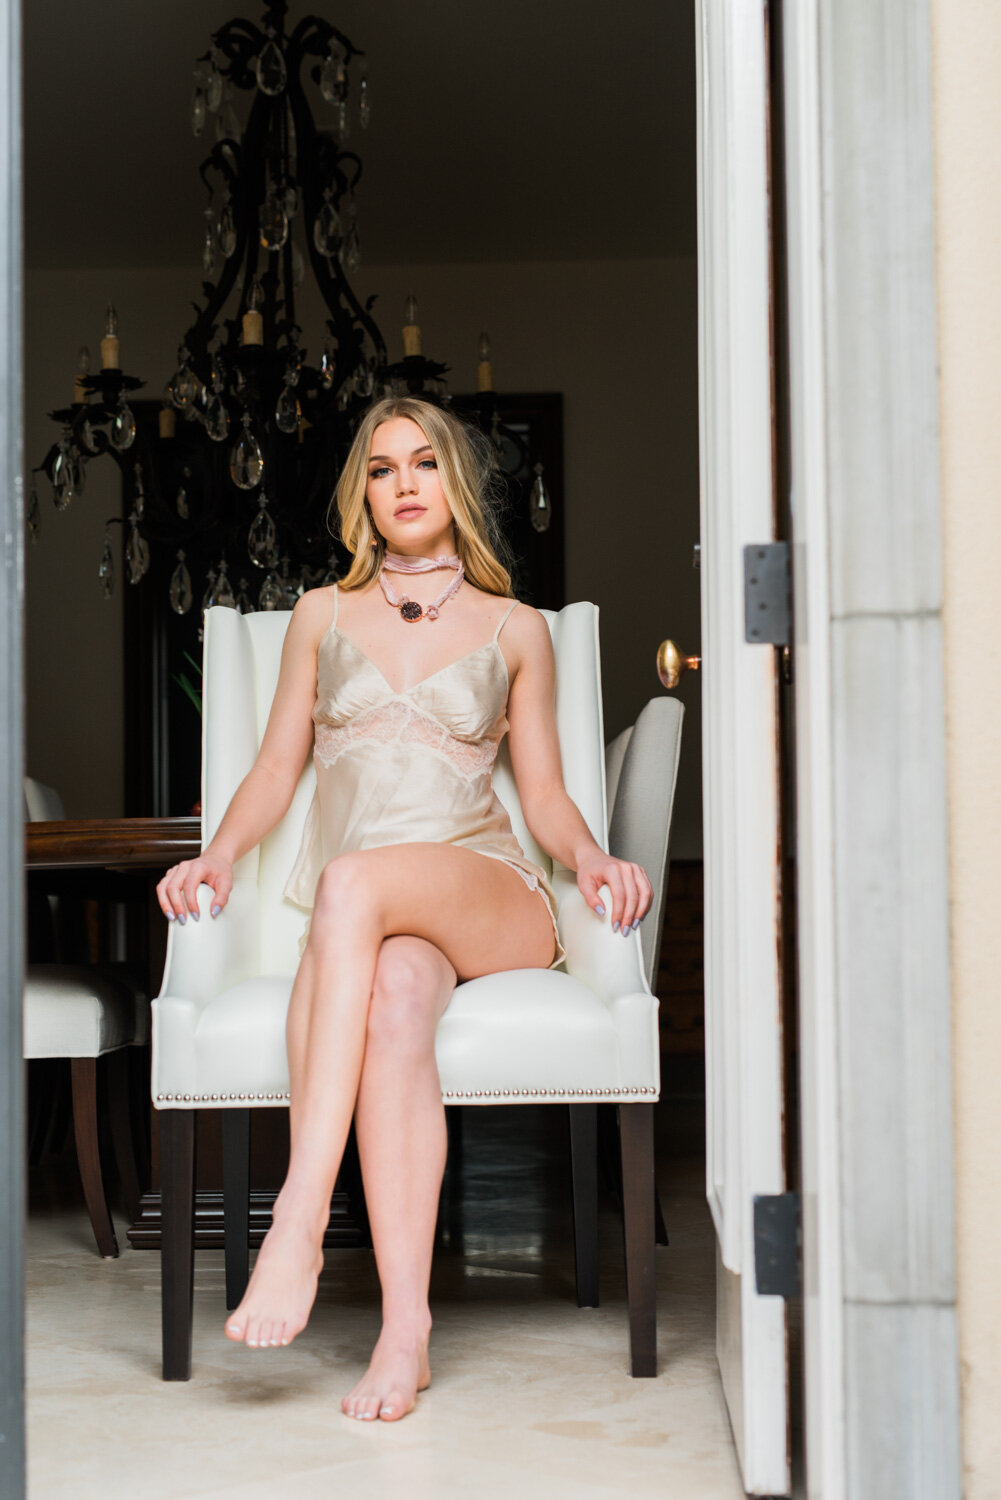
4. Stay close to the windows
If you want to create flattering portraits, taking photographs near windows will always create a beautiful, diffused light. If you are on the shady side of the house, you can place the subject right in front of the window or door and step outside to press the trigger. Be mindful not to block the light with your body or create a shadow.

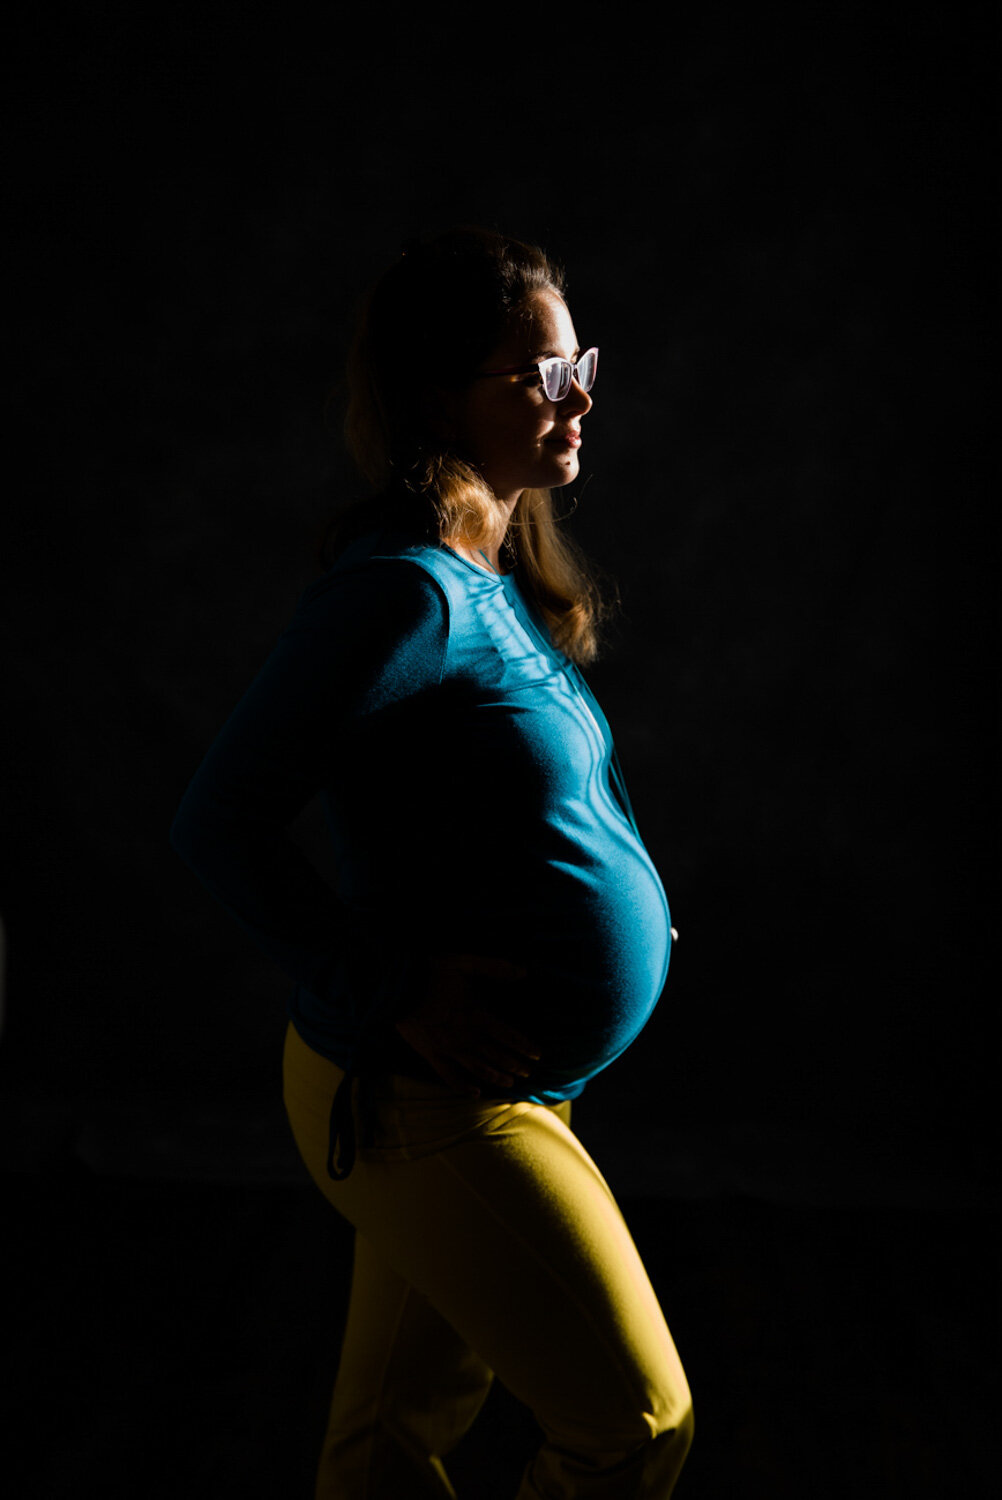
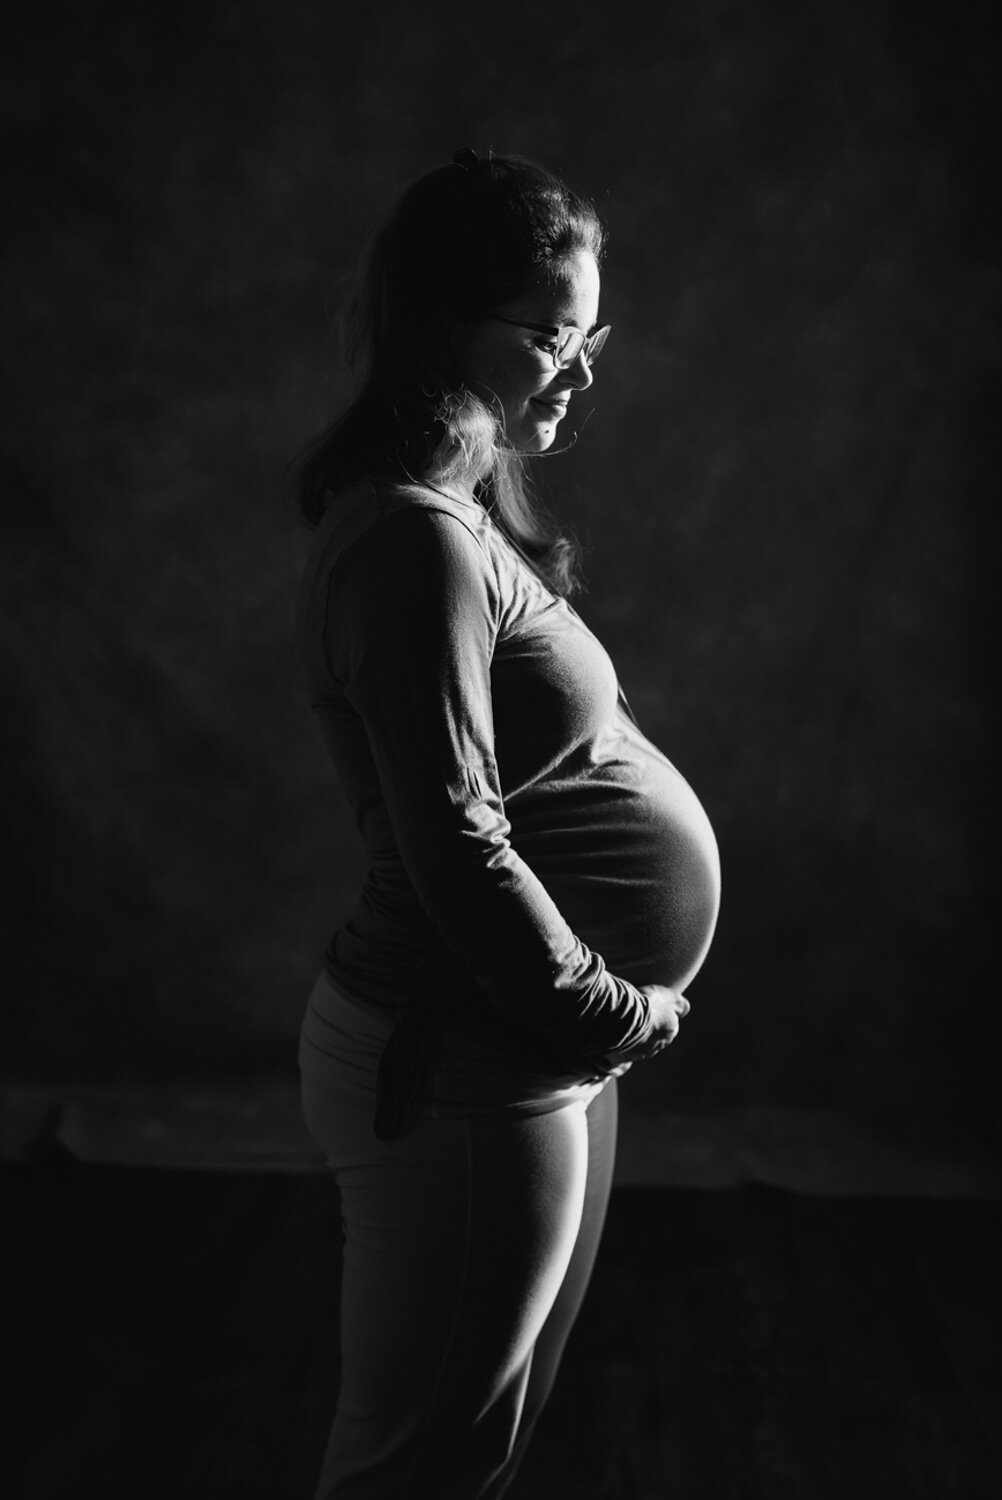
5. Use the sunlight that hits your walls or floor
This might be in the early morning or later in the afternoon, depending on the position of your rooms. There are infinite possibilities when it comes to playing with sun beams! Use a sunbeam to highlight a natural curve or shape. As you see here, sun beans are perfect for bellies, but also for profiles or simply to be creative and catch the eyes.
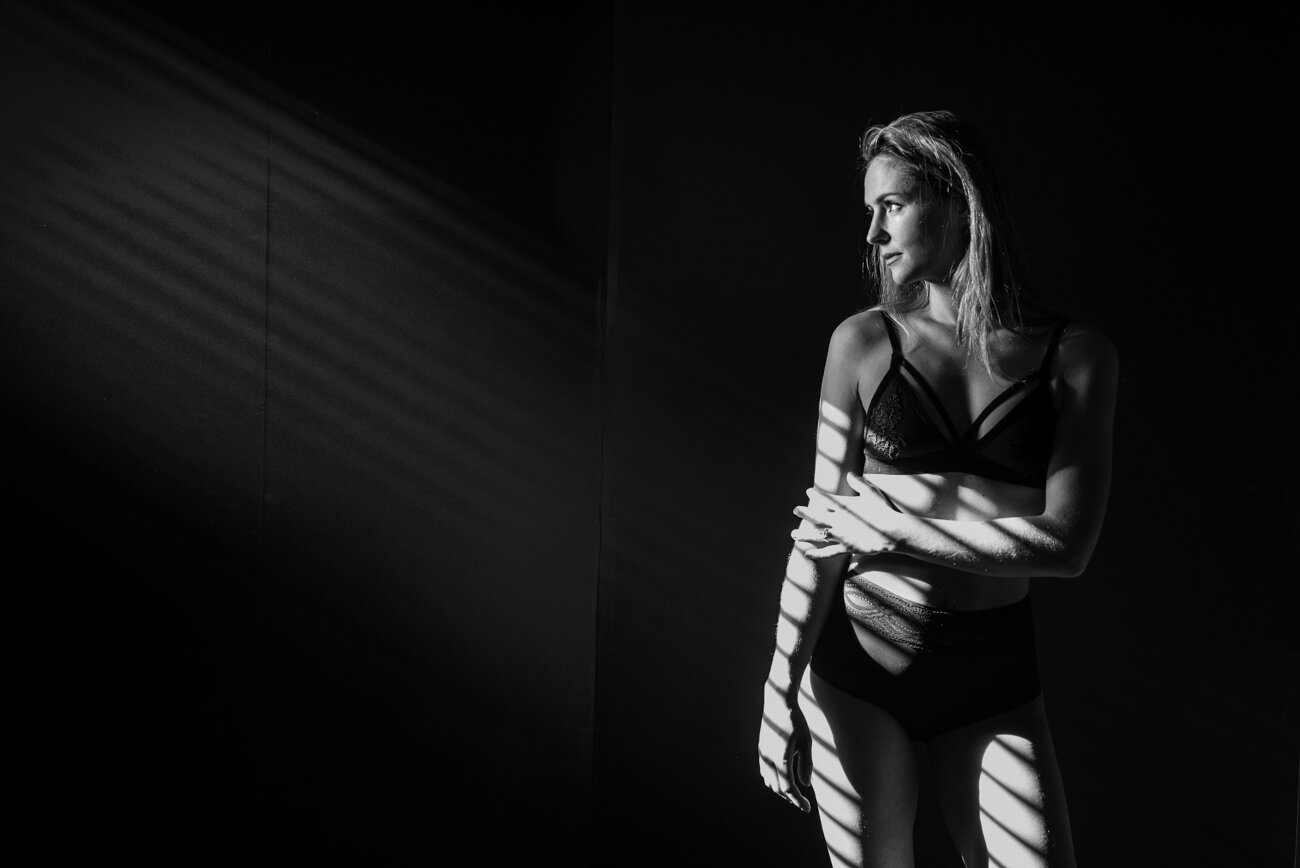
6. Play with patterns that come through the window
When there is direct sun coming in, the beams of light can create stunning effects inside the home. For example, Venetian blinds can create stripes, shutters can create dots, and an opaque glass window can shine with little stars.

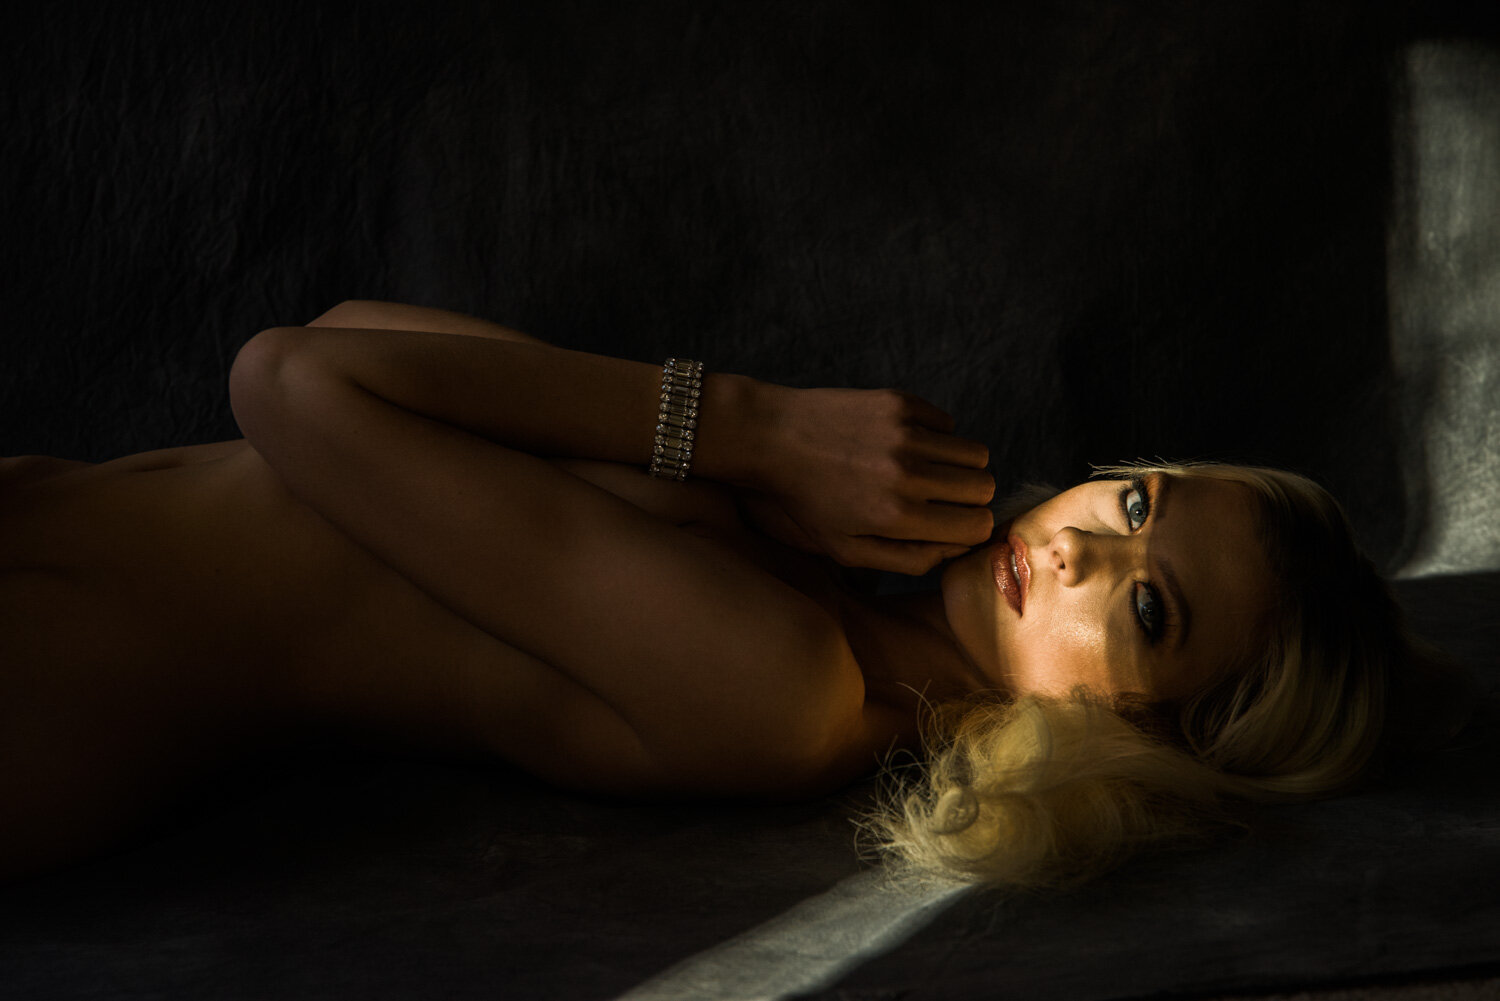
7. Use the ‘hairlight’ technique

As the name suggests, the subject is positioned with the sun at their back, illuminating their hair. This technique can beautifully define the head and hair by creating separation between the subject and the background (well, not great if the hair is messy!). Some cameras will struggle with the difference in brightness between the bright sunshine and dark shade. If this is the case for you, try the same photo but with a decreased angle between the photographer, the subject, and the window. Bear in mind that the sun hitting your camera lens can cause lens flare. You can either step back further, shade your lens with your hands, or embrace the light leaks.


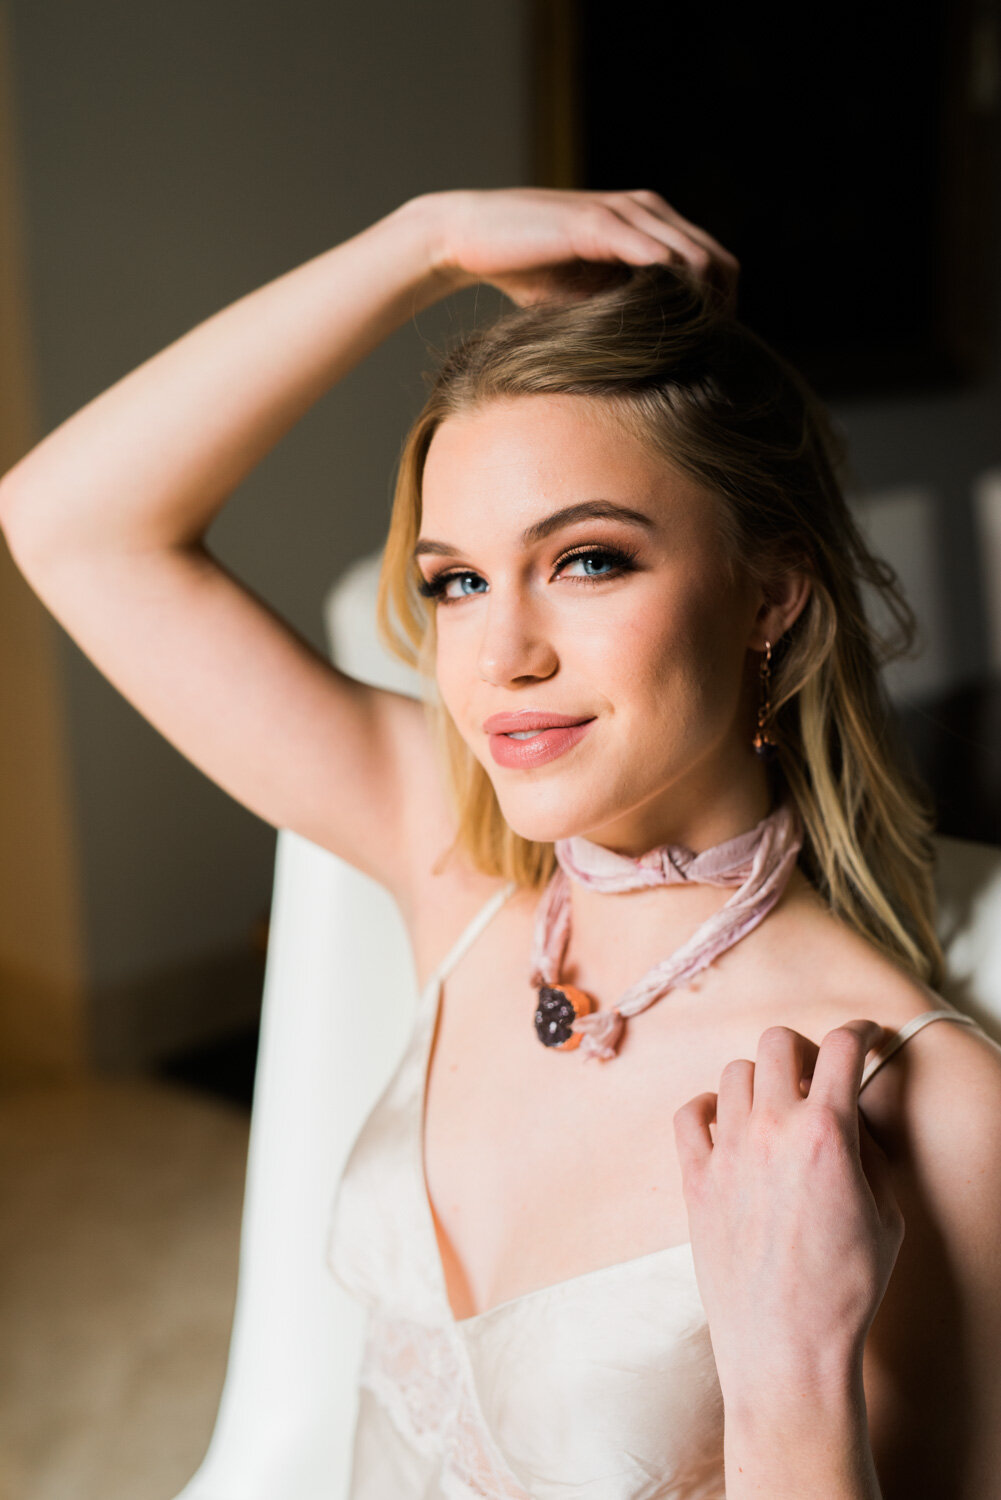
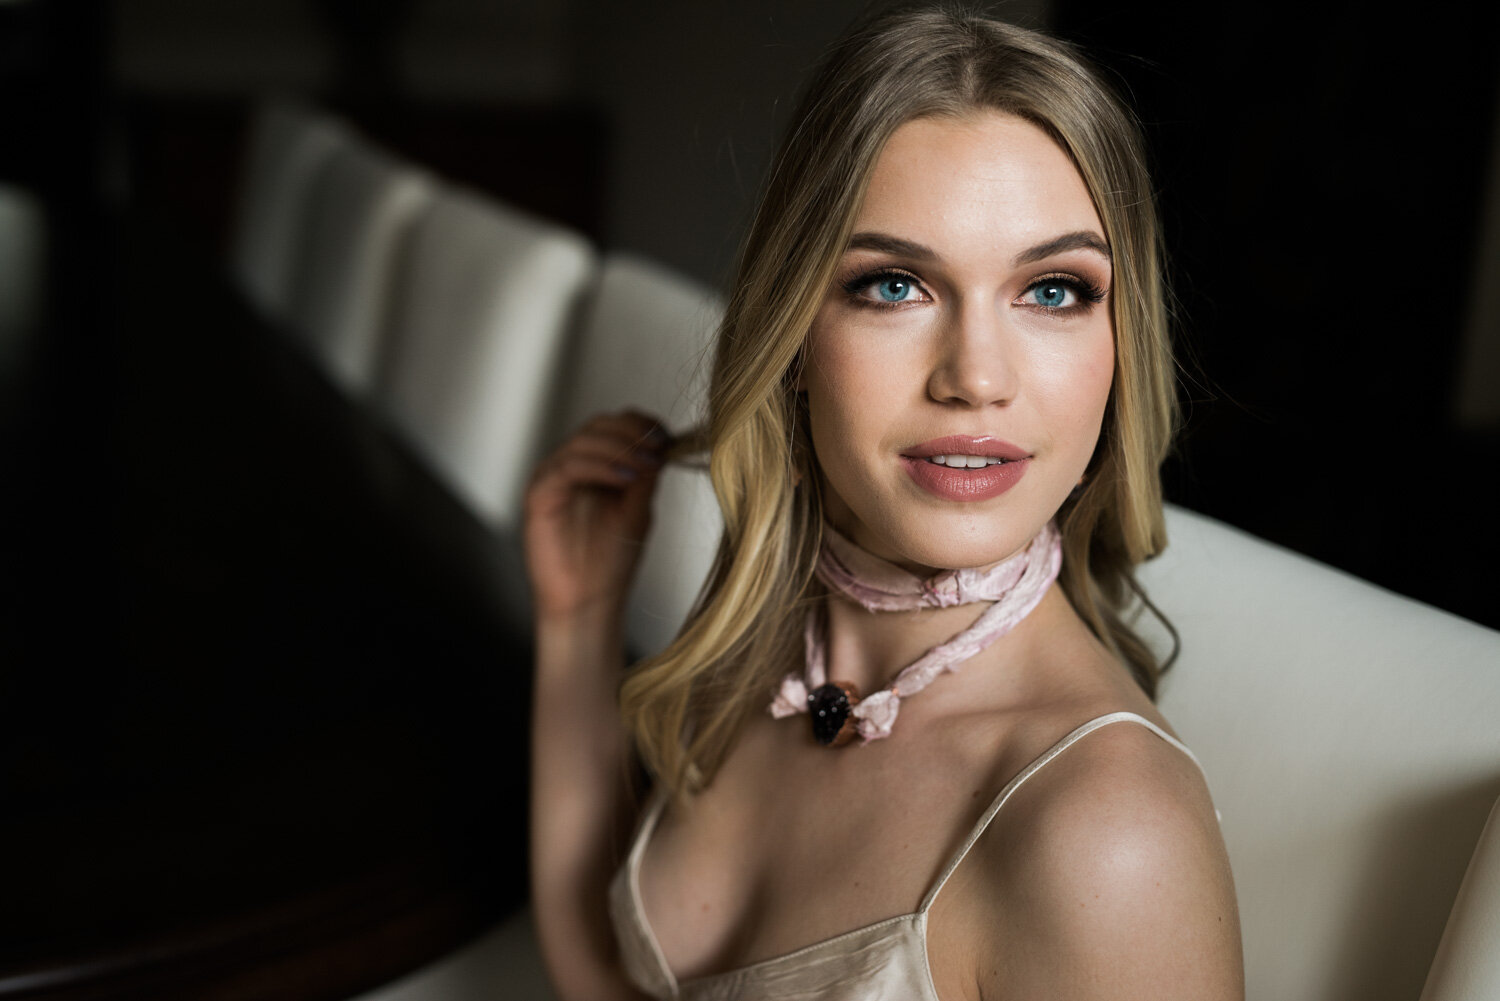
9. Bright faces and dark backgrounds create interesting images
This technique ensures that all the attention goes right to the subject.

10. Photograph perpendicular to a window
Try out this position if you want interesting, flattering light on one side and shadows on the other side. Generally this creates more interesting angles and shade for men’s portraits, ok for babies too!
Have fun practicing!